
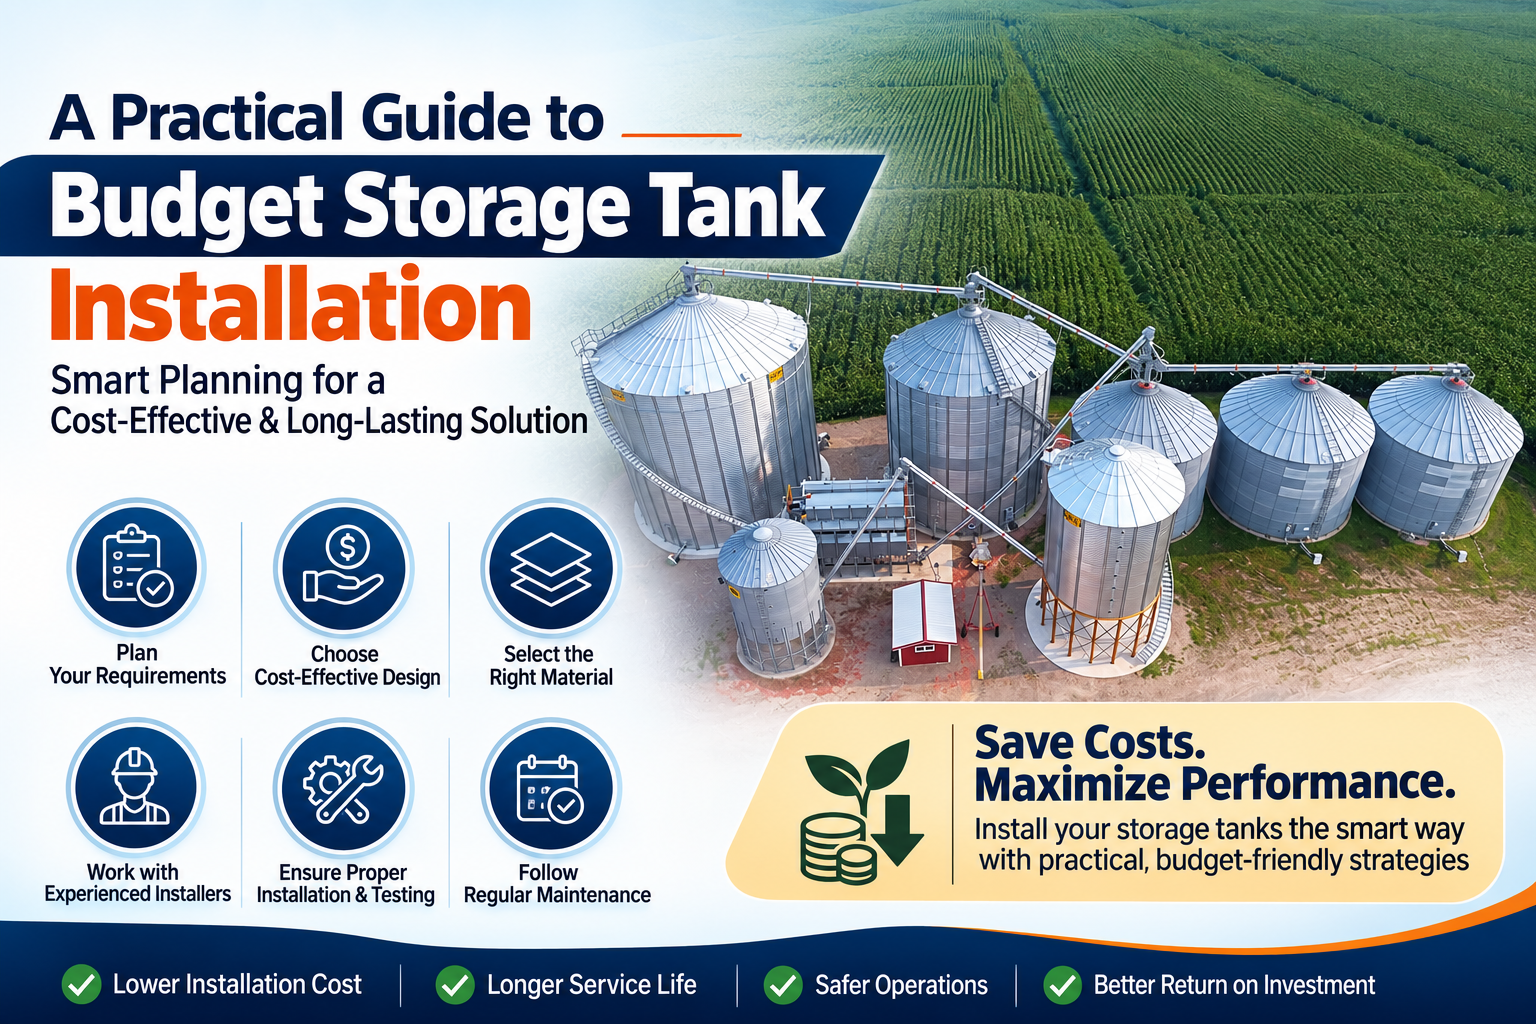
The trick to the low cost of a storage tank installation is not to purchase the lowest cost plastic tank available but to plan and sweat the job. Here's a practical and step-by-step book on how to do it for no extra cost with accuracy.
Arvinda Industries is one of the prominent storage hopper manufacturers in India that manufactures industrial-grade containers for long usage. We have compiled this practical guide to help you successfully plan and execute a budget-friendly installation without sacrificing structural integrity.
A Practical Guide to Budget Storage Tank Installation
1. How to Choose Your Tank
You should weigh the materials you plan to purchase against their durability before purchase.
- Polyethylene (Plastic): This is typically the least expensive choice. Poly tanks are lightweight, durable and UV resistant (saving you delivery and installation equipment costs).
- Galvanized Steel: These are typically more costly initially but last a long period of time. If you want steel that won't break the bank, check out the liquidators and scratch and dent discounts.
A budget tip is to seek out "utility grade" or "b-grade" tanks produced by manufacturers. Commonly, these are in some minor cosmetic condition, such as irregular colouring that is not likely to impact structural stability but that is a significant discount.
2. Site Selection: Let Gravity Do the Work
The location of the tank is as important as the type of tank that you purchase. Water in motion must have energy. If you have a natural hill or elevation above where you want the water to be, water will move by its own natural pressure, instead of an expensive electric pump.
Avoid These Costly Location Mistakes:
- Under trees: Roots may break the foundation, and falling branches can damage the tank.
- Low areas: Pooling water and mud can wear down the bottom of your tank over time.
3. DIY Foundation Prep
A concrete contractor will likely double your project expense when it comes to pouring a concrete pad. The base for most budget poly tanks is just fine – it's compacted crusher dust or pea gravel; it's very stable and is very inexpensive to do yourself.
How to Build a Budget-Friendly Crusher Dust Base:
- Clear and Excavate: Clear a circle with a diameter of at least 2 ft. wider than the tank, plus 4-6" of dig down to accommodate your base material.
- Level the Ground: Make the dirt floor smooth and level. A tilting tank will cause the walls to fail because of the uneven pressure it exerts.
- Frame it: Build a retaining edge with the inexpensive treated timber landscaping ties.
- Fill and Compact: Fill the space with Crusher dust (or Road base gravel). Wet down and pack it as hard as possible with a hand tamper (or hire a plate compactor for a couple of hundred dollars).
4. Simplified Plumbing and Fittings
Fittings and pipework can creep up on you! Avoid as many elbows, valves, and adapters as you can because they are additional items to buy.
| Component | Budget Strategy | Why it Saves Money |
|---|---|---|
| Inlet/Outlet | Flexible PVC/Hose | Rigid PVC can crack if the tank settles slightly. Flexible connections prevent breaks and eliminate the need for complex angled fittings. |
| Valves | Standard Ball Valves | High-quality PVC ball valves are inexpensive, highly reliable, and easy to replace. |
| Overflow | Direct to Ground | Run a simple overflow pipe away from the tank base to prevent erosion, rather than tying it into complex drainage. |
5. Essential Protections
It's not worth cutting corners on protection. If you want your budget to sustain for many years, make sure that you include:
- A Screen/Filter: A simple mesh screen over the inlet will block leaves and mosquitoes. Valves and pumps will be destroyed by algae and debris.
- UV Protection: If not 100% UV rated, apply a dark outside UV-rated latex paint to the exterior of your poly tank. This blocks sunlight, reduces algae growth within the product and prevents plastic from becoming brittle.
Conclusion
The most important part of the budget storage tank installation is patience. Do take your time to adjust the level of the base, look for the leftover plumbing parts in the local market and do not rush. In a weekend, you can build a dependable water storage system that will last you for 10 years without a problem – and for a fraction of the commercial install price.
Work with a reputed industry player such as Arvinda Industries to get the best and bespoke material storage solutions that are prepared to stand up to the toughest industrial conditions. Call our experts today and discover the best storage solution for your business!
Frequently Asked Questions (FAQs)
1. Does a budget storage tank need a concrete foundation?
Not necessarily. The gold standard is to use concrete as a base, although a compacted Crusher dust (crushed limestone) or pea gravel base is very effective and much cheaper. A standard poly tank will work on a gravel base as long as it is level, devoid of sharp rocks, and is well compacted so it will not settle out of level.
2. How can I increase water pressure without buying an expensive pump?
You can find the easiest budget fix with elevation. Each foot that you lift your tank above the discharge point will provide approximately 0.433 PSI (pounds per square inch) of water pressure. Install the tank on a natural slope or hill. For gravity-fed systems, another option is to construct a solid, low platform made of either timber or concrete blocks to give a modest boost to the pressure.
3. How do I stop algae from growing inside a budget plastic tank?
Algae requires sunlight for growth. If you purchase a poly tank at a lower price, it will be somewhat translucent or light colored, allowing sunlight to pass through the walls. Another way to solve this problem is to simply paint the exterior of the tank a dark, solid colour with a UV-resistant outdoor latex paint, or cover the tank with a heavy-duty, opaque tarp or tank cover.
4. Can I use a second-hand or used tank to save money?
Yes, but carefully. For used tanks, make sure that the tank was only used for food-grade liquids or water. Do not reuse tanks that previously contained pesticides, fuel or toxic chemicals, as no amount of washing will remove these chemicals from the plastic and prevent them from leaching into your water supply.
5. What is the most common mistake made during DIY installation?
Failing to make the base perfectly level. Water is extremely heavy – a 1,000-gallon water tank filled has a weight of more than 8,300 lbs. That massive weight is applied to one side of the base; if it is tilted just slightly, the tank bulges, leans to one side and eventually crazies or cracks at the seams. Check the level before filling the tank twice!
